

How to Install Composer on Shared Hosting?
- By Admin --
- Oct 07,2021 --
- 2974 Views ,
- 8 Comments
The installation of the composer on your shared hosting can make your life a lot easier. You can automate your entire project with the help of composers. If you want to know the complete process of installing the composer, this article can help.
But first, we’ll start with what the composer actually is.
What is a composer?
It is a specific tool for automating your PHP requirements for a particular project. You can declare your libraries, and the composer will manage them for you. But one thing you should keep in mind is that you shouldn’t expect a composer to make global changes. All the changes are project-based.
Process to install composer on shared hosting:
Step 1: Enable SSH for your hosting. The process of enabling it varies with every hosting service provider.
Step 2: Now download and install an SSH client. It will provide you access to your account. Linux users should run the terminal application, and using the command to establish the connection is the appropriate procedure.
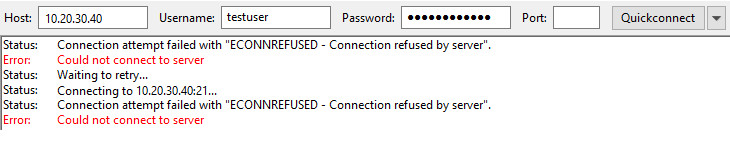
Step 3: Within your SSH client, enter your domain name on the Host Name field. You can even enter the IP address of your server. Adjacent to the ports, enter 21098 or 22.
Step 4: Select SSH connection and click on Open.
Step 5: Choose "Yes" if a dialogue box pops up.
Step 6: In the next dialogue box, you’ll have to enter your Cpanel username and password.
Note: Your password will be automatically hidden, so you don’t have to worry.
In the c-panel, you’ll have to navigate the folder that you want to install the composer. Usually, it is the File Manager.
Step 7: In the File Manager, create a new file with the name php.ini.
Step 8: Right-click on the file and select edit.
Step 9: Put the following values in the file and save it:
max_execution_time = 300
max_input_time = 300
memory_limit = 512M
suhosin.executor.include.whitelist = phar
detect_unicode = Off
Step 10: When everything is ready, put the following command in the SSH Client window, and your composer will be installed.
php -r "readfile('https://getcomposer.org/installer');" | php -c php.ini
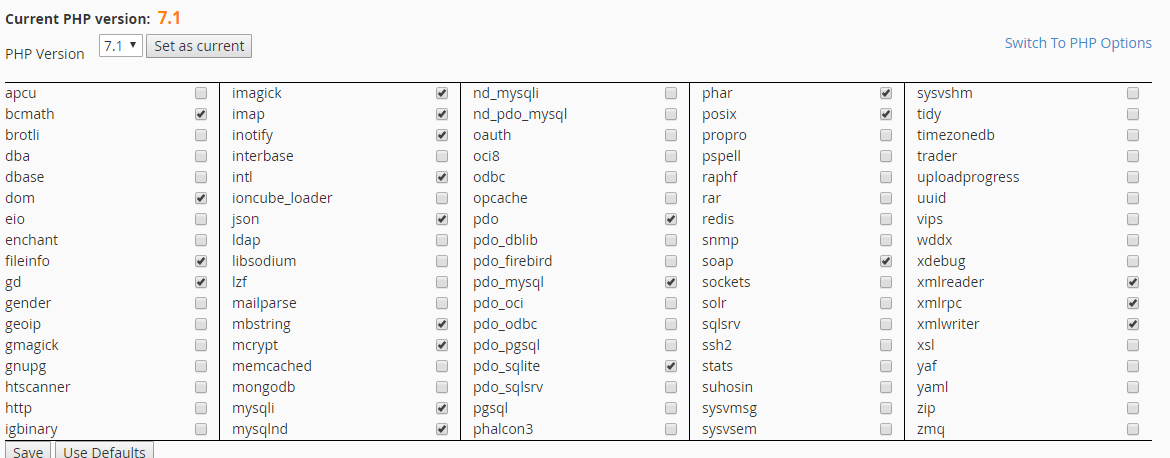
Note that the PHP version in use must be 5.5+
You can check it from your c-panel. In your c-panel, you’ll find the “Software and services” folder.
Select the PHP version from the main menu. A new dialogue box will appear where you can set the required version of PHP. Select “Set as current.”
Be sure to set allow_url_fopen as On too. It is the first setting you’ll see after the PHP version selection dialogue box.
By following all these steps, you’ll have your composer installed to your shared hosting. The process is simple, and you can easily manage it without an expert’s help.


Comment