


How to copy files from shared hosting to cloud server using SSH?
- By Admin --
- Oct 07,2021 --
- 2863 Views ,
- 0 Comments
Are you using the shared hosting plan? With the increase in traffic, it would get difficult for your hosting plan to keep your website running efficiently. If you face this situation, shifting to a different hosting plan or a cloud server could be the right solution.
But it comes with another technicality. You’ll have to move all your files from your shared hosting to the cloud server. For smaller websites, the transfer process can be easily monitored using the FTP Client. But for larger files, you’ll prefer using SSH as a medium.
Process to copy shared file from shared hosting to cloud server:
Below are the steps you should follow to get this done.
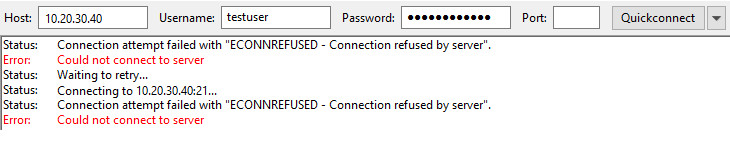
Step 1: Open SSH with your old hosting credentials using the command:
ssh username@hostname
If your system is using a port other than the default one, then use this command:
ssh username@hostname -oPort=(number of port)
Step 2: Compress the public_html folder with this command:
tar -cvzf wpback.tar.gz public_html
P.S. wpback.tar.gz is the file name of the compressed file. If you want to name your file differently, you should change the name in the command too.
Wait for a few minutes until the files are compressed.
Step 3: Using the same terminal, enter the following command:
sftp username@hostname.wpengine.com
After typing yes, enter your password for new hosting via sFTP
Step 4: Setup the default-working directory from the previous hosting to the new one using the command below:
put wpback.tar.gz
Step 5: Wait for a few minutes while your files from the old hosting are transferred to the new one. Once the process is complete, decompress the WP-content file compressed at the start of the process. For the decompression, you might need help from the support team of your cloud server, as it is not the default feature offered by the cloud servers.


Comment